Many stores collect email addresses but never quite turn them into a newsletter. The signup form lives in one place, the campaigns in another, and it is hard to tell who actually agreed to hear from you. A WooCommerce newsletter that runs inside your store keeps the forms, the consent record, and your product emails together.
By the end of this guide, you will have email delivery connected, a reusable signup form with its shortcode, a product campaign draft, a customer audience, and a welcome automation saved as a draft. You will also know how to turn on the optional newsletter checkbox at checkout.
What you need
- WordPress 6.6 or later, WooCommerce 8.9 or later, and PHP 8.1 or later.
- The NewsLetter plugin with an active license. Marketing and new subscriptions need current license access.
- A SendGrid account with a verified sender identity or authenticated domain. SendGrid is the production delivery provider; WordPress email is only for development testing.
- Public HTTPS, so SendGrid can send signed delivery events back to your site.
- A real cron runner. Have your host run WordPress cron at least every five minutes instead of relying on site traffic.
- Cloudflare Turnstile keys, if you keep the default protection on guest signup forms.
Step 1: Activate the license and connect SendGrid
Open UFP → NewsLetter → License and activate your license key. Then go to Settings → Email Delivery in the same workspace:
- Check Enable newsletter delivery through SendGrid.
- Paste a restricted SendGrid API key with only Mail Send permission, and choose your SendGrid API region.
- Enter the Sender name and a Sender email address that is verified in SendGrid.
- Check Enable authenticated SendGrid status updates, copy the Event Webhook URL into SendGrid, turn on signature verification there, and paste the key it shows into SendGrid signature verification public key.
The Overview tab has a readiness checklist for test email, forms, checkout opt-in, campaigns, and automations. Use it to see what still needs attention.
Step 2: Write your consent wording
Open Settings → Consent. Enter your Opt-in wording and a Consent policy version, keeping the wording specific and separate from purchase terms. Standalone and banner signup forms always use double opt-in. For account and checkout signups, you decide whether to check Require email confirmation for authenticated account and checkout signups. Select Save consent settings, and leave the collection switches off for now. You will turn them on in the last step.
Step 3: Build a reusable signup form
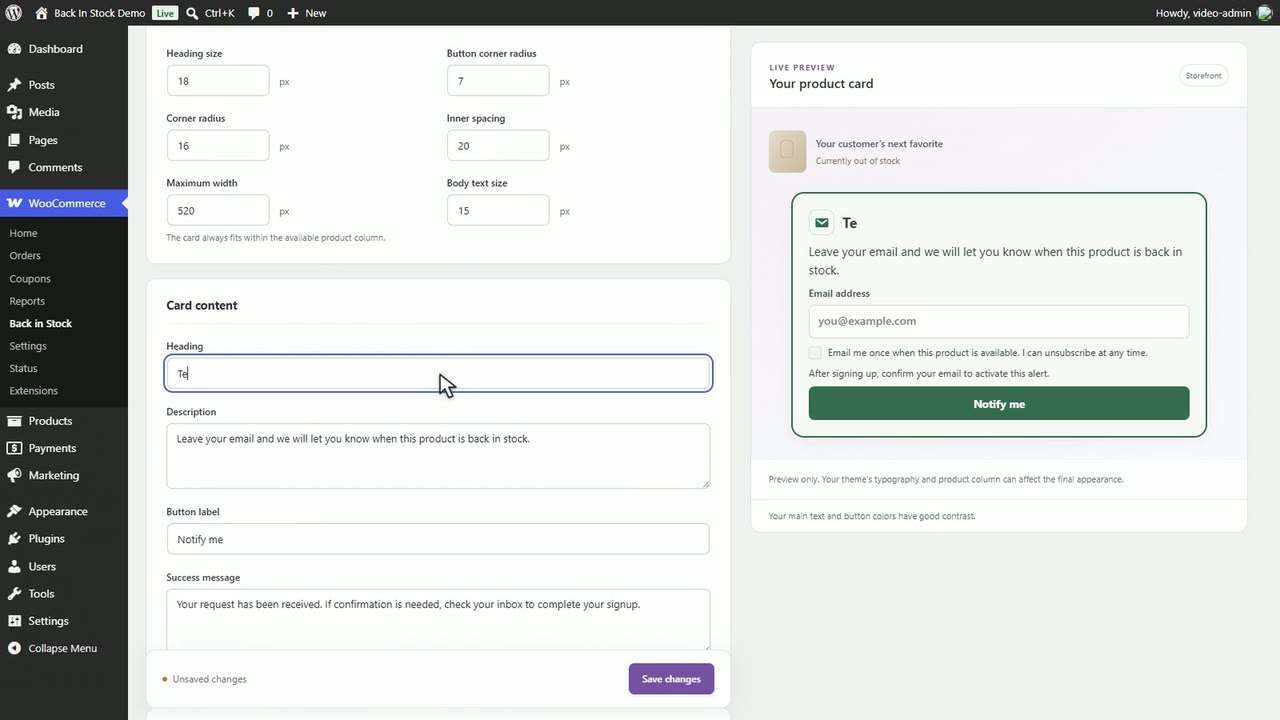
Go to Banners and Forms → Forms and select New form. Add an Internal name, then write the Public heading and Subscribe button text in your own words. Review the Consent statement; this exact text is stored with each signup’s consent record.
Under Subscription form appearance, match the colors to your store, such as Accent and button and Card background. The Live preview lets you switch between a Guest and a Signed-in customer and view states such as Success and Validation error. Select Create form. Its shortcode, such as [wcn_signup_form id="123"], appears beside the form, ready to place on any page.
Step 4: Draft a product campaign
Open Campaigns and select New campaign, or start from one of the Campaign templates, such as Product launch. In Email content, give the email a clear Subject and write the Message in the WordPress Visual and Code editor.
In Products & coupon, search for products by name or SKU, set Product arrangement to 2-column grid, and select Insert product block. A block can hold up to 12 products. Select Save draft, then use Open saved preview under Preview & test to check the layout and product cards.
Step 5: Create a customer audience
Go to Subscribers → Audience and find Create audience. Name the audience, set Audience type to Dynamic commerce rules, and add a rule. For repeat buyers, choose Order count, is at least, and 2. Other rules cover total spent, last purchase, purchased products or categories, and email engagement. Save the audience, then choose it in a campaign’s Audience section.
Audiences only group people who are already subscribed. Adding someone to an audience never subscribes them.
Step 6: Start a welcome automation
Open Automations, find Welcome new subscribers, and select Use this preset. Give the draft an Internal name you will recognize later. Under Frequency cap, set Maximum messages to 2, Within to 7, and Period to Days. Select Save workflow to keep it as a draft until you are ready to activate it.
Other presets cover post-purchase follow-ups, product review requests, abandoned cart recovery, and customer win-back.
Step 7: Turn on signups and the checkout checkbox
When the readiness checklist looks good, return to Settings → Consent:
- Check Enable public newsletter subscription forms so your form starts accepting signups.
- Check Show an optional newsletter checkbox at WooCommerce checkout to add an unchecked opt-in box, labeled with your opt-in wording, to Classic Checkout and Checkout Blocks.
Save, then paste the form shortcode into a page. When a campaign is ready, confirm the review checkbox in Review & send and select Queue campaign or Schedule for later.
Good to know
- A purchase never subscribes anyone. Customers join only through an explicit opt-in, and consent and suppression are checked again right before each email is sent.
- New installs start with collection off. Public forms and the checkout checkbox stay disabled until you turn them on, and Turnstile protection for guest signups starts on.
- Sending depends on scheduled jobs. Campaigns and automations run in the background, so a reliable cron runner matters as much as SendGrid.
- A sent email cannot be recalled. An unsubscribe stops future campaign and automation emails, but not a message already handed to SendGrid.
- A/B testing is not included in the current campaign editor.
Frequently asked questions
Can I send newsletters with my normal WordPress email?
Only for testing. WordPress mail is included as a development transport and is not suited to bulk sending. Production campaigns, confirmations, and automations go through SendGrid, with a verified sender and a signed event webhook.
How do customers unsubscribe or change their choice?
Every marketing email carries the recipient’s own unsubscribe link, and it cannot be removed. Signed-in customers can also open My Account → Newsletter subscription to subscribe, check their confirmation status, or withdraw consent. Their account and order emails are not affected.
Does it recover abandoned carts from guest checkouts?
No. Cart recovery is limited to signed-in customers whose account maps to an active, confirmed subscriber. Typing an email address at guest checkout does not enroll anyone, and the plugin never creates a subscriber from checkout data.
Can I import subscribers from another tool?
Yes. Open Subscribers → Import / Export and upload a UTF-8 CSV file with up to 5,000 rows per job. Only import addresses that already gave explicit marketing consent. The import sends no confirmation, welcome, or campaign emails, and existing unsubscribes and bounces stay protected.